Hexo-NexT主题-博客搭建
为了记录我的大学生活的学习,在2020春节前决定搭建一个自己的博客来记录自己大学四年的生活和学习,本文为参考b站up:Mackxin的教程来进行记录我对Hexo-next主题的学习过程以及练练手,以后不记得了的知识点就在本文中查找。
01 启用next主题
先进入next主题官网下载next主题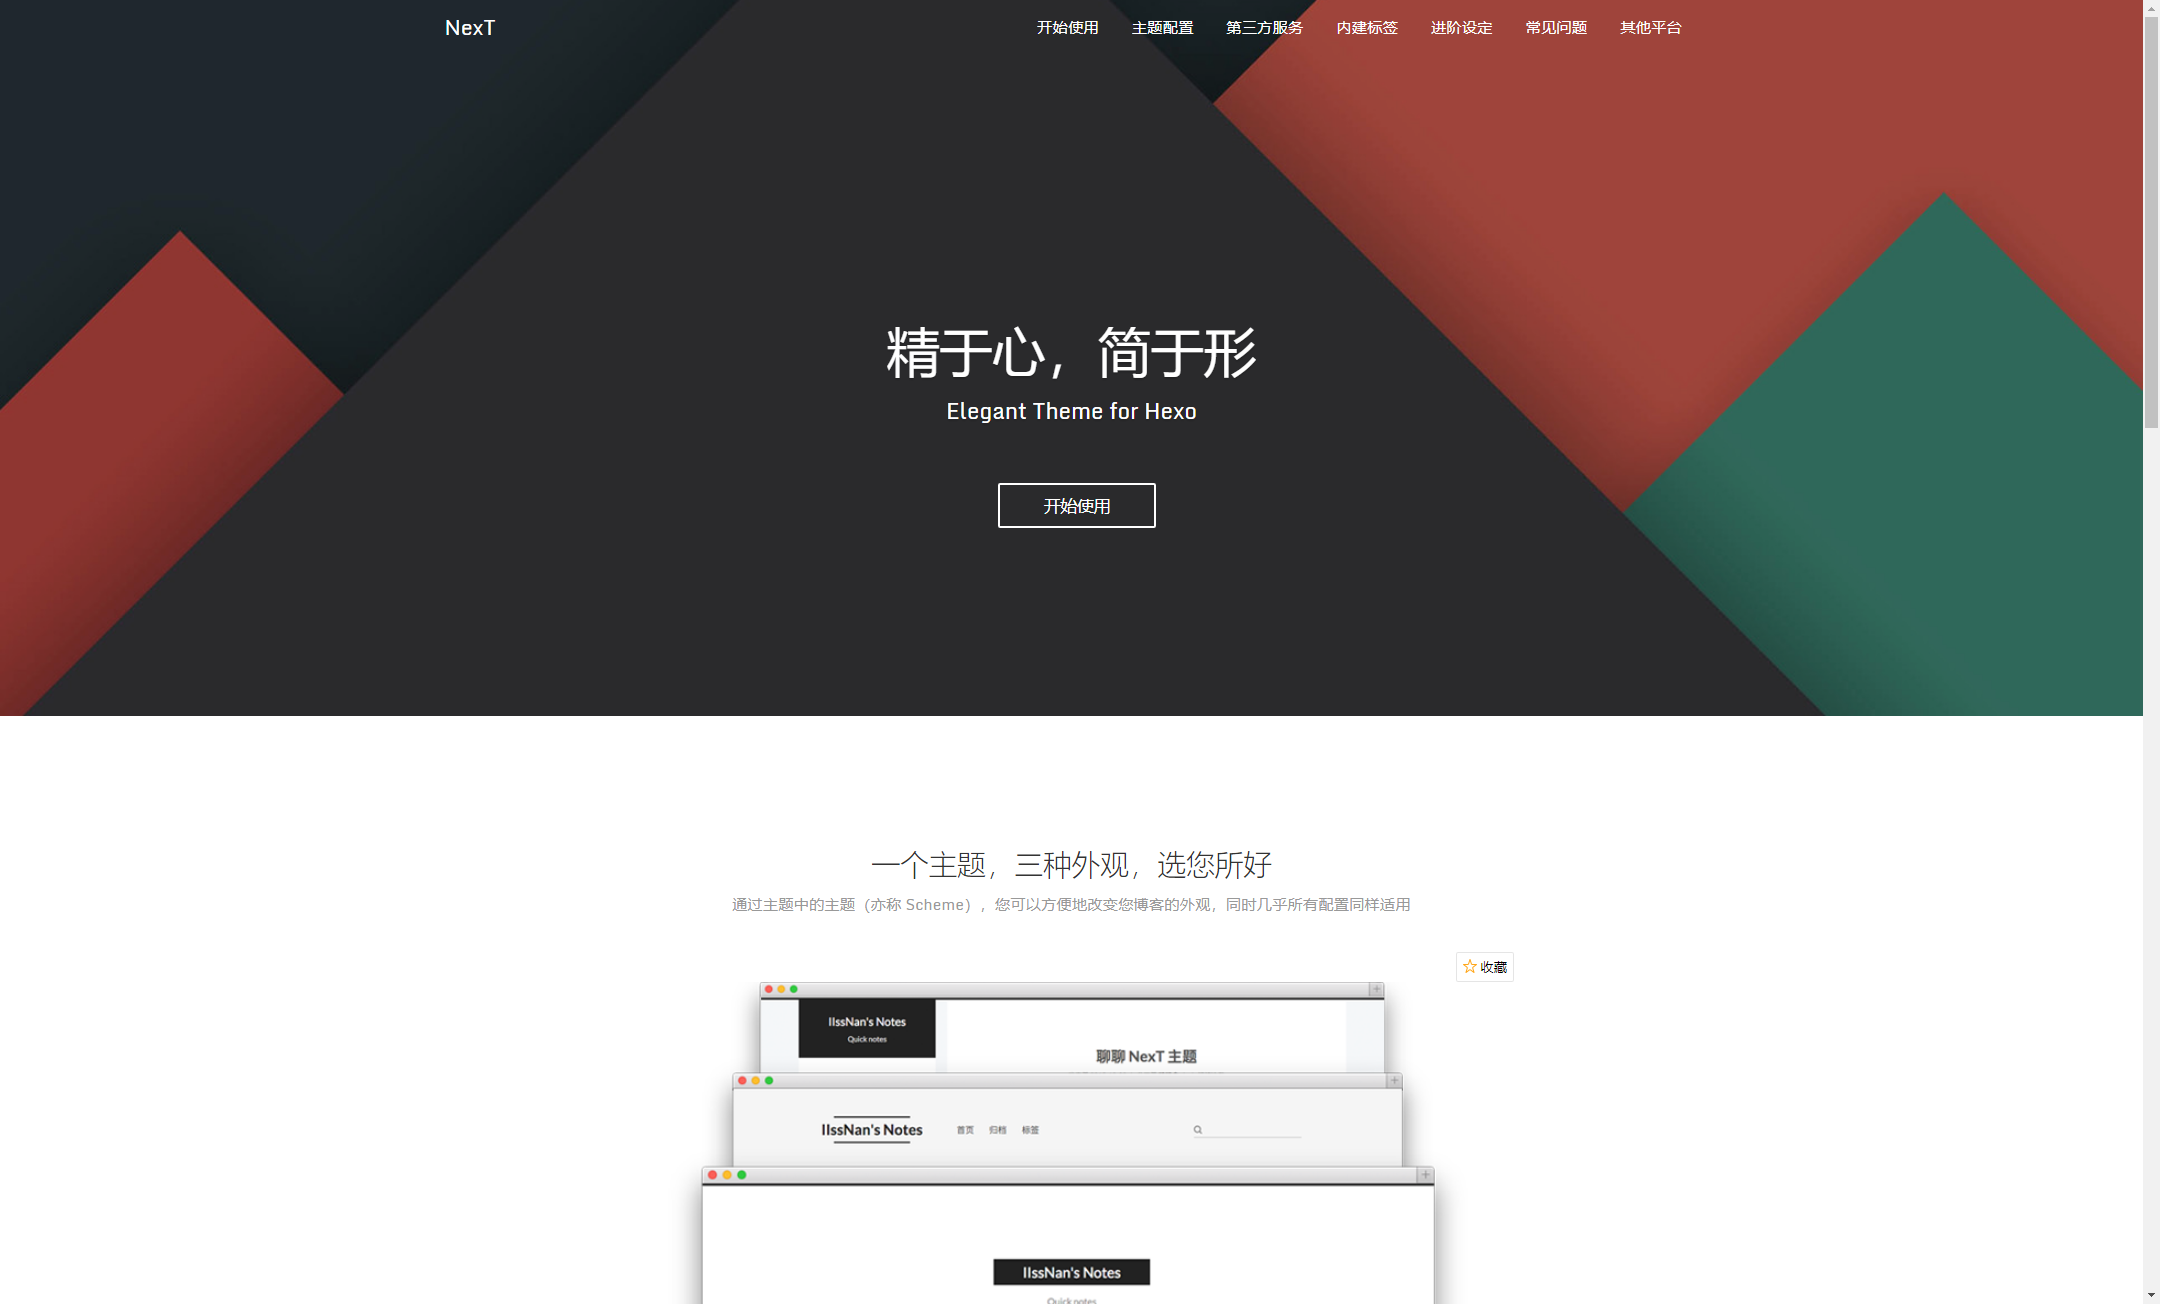
点击开始使用
下载好这个主题,然后通过Sublime打开blog/_config.yml,ctrl+F搜索theme,在theme中修改成next主题,记得ctrl+S保存1
theme: next
然后cmd进入hexo,先后输入1
2
3hexo cl
hexo g
hexo s
然后进入自己的blog就可以看见自己修改好了next主题啦
ps:本文使用的编译器是sublime text3,其他的编译器也行,例如vscode等。
02 更改next主题为中文
通过sublime打开blog/_config.yml,ctrl+F搜索language,将language改成zh-Hans1
language: zh-Hans
ctrl+S保存,然后刷新自己的blog就可以看见自己的blog改成中文啦
如果还没有就在cmd打开hexo1
2
3hexo cl
hexo g
hexo s
再刷新自己的blog就可以看见啦
02 添加标签页和分类页
先进入根目录hexo/blog/theme/next/_config.yml 通过sublime打开
ctrl+F搜索menu1
2
3
4
5
6
7
8home: / || home
#about: /about/ || user
tags: /tags/ || tags
categories: /categories/ || th
archives: /archives/ || archive
#schedule: /schedule/ || calendar
#sitemap: /sitemap.xml || sitemap
#commonweal: /404/ || heartbeat
把tags和categories前面的#删掉
打开tags(标签)和categories(分类)
然后刷新blog就可以看见上面的标签页和分类页就打开了
但是打开的分类页和标签页都是error,因为我们还没有创建分类页和标签页
04 创建标签页和分类页
4.1 创建标签页
进入blog的根目录
再cmd中打开hexo,输入命令,回车1
hexo n page tags
然后就会在hexo/blog/source下看见新的一个文件夹tags
现在在自己的blog首页就可以打开标签了
然后我们打开tags文件夹中的index.md,我这里通过sublime打开
title改成中文的标签,增加一行添加type: “tags”类型,一定要添加type1
2
3
4
5---
title: 标签
date: 2020-02-13 23:22:04
type: "tags"
---
然后刷新自己的blog,就可以看见中文的暂无标签,如果我们删掉type,那就只会显示标签,不会显示暂无标签
4.2 创建分类页
然后我们通过cmd打开hexo,输入1
hexo n page categories
我们就可以看见hexo/blog/source下看见一个新的文件夹categories
然后我们打开categories文件夹中的index.md,我这用sublime打开,跟刚刚一样的操作
title改成分类,添加type行,如下1
2
3
4
5---
title: 分类
date: 2020-02-14 00:02:58
type: "categories"
---
然后刷新自己的blog就可以看见了
05 主题样式的更改
next主题中内置了有好几种样式,我们刚开始用到的是Muse,要更改的话进行如下操作
先打开blog/themes/next/_config.yml,我这里还是通过sublime打开,然后ctrl+F搜索Schemes,可以看见1
2
3
4
5
6
7
8
9# ---------------------------------------------------------------
# Scheme Settings
# ---------------------------------------------------------------
# Schemes
#scheme: Muse
#scheme: Mist
#scheme: Pisces
scheme: Gemini
我们在要用的样式前去掉#,不用的就不用打开,像这样,我这里就是用到的是第四种样式Gemini
ctrl+S保存好以后刷新以后就可以看见自己选择的样式了
06 设置头像
先进入主题的根目录blog/themes/next/_config.yml
通过sublime打开后ctrl+F搜索avatar,然后打开,即把#号去掉,这里的头像可以放自己的连接,最好是尺寸小的,可以是网上有权访问的图片的链接,也可以是自己本地的,最好放在blog/themes/next/source/images目录下,然后直接通过/imgages/xxx.xxx打开1
avatar: /images/1.jpg
07 更改标题作者
我们通过sublime打开blog/_config.yml1
2
3
4
5
6
7
8# Site
title: 我的盒子
subtitle: ''
description: ''
keywords:
author: 安河桥北以北
language: zh-Hans
timezone: ''
title更改成自己的标题,author也更改成自己就行了
刷新一个自己的blog,如果不行就先清理再刷新打开1
2
3hexo cl
hexo g
hexo s
然后就可以看见自己的名字那些就修改好了
08 启用侧边栏社交链接
先通过sublime打开blog/themes/next/_config.yml,然后ctrl+F搜索Social1
2
3
4
5
6
7
8
9
10
11
12social:
GitHub: https://github.com/ChenAi007 || github
E-Mail: mailto:7757582@qq.com || envelope
#Weibo: https://Weibo.com/bxh || google
Twitter: https://twitter.com/Tim_qwq || twitter
QQZone: https://user.qzone.qq.com/7757582
#FB Page: https://www.facebook.com/yourname || facebook
#VK Group: https://vk.com/yourname || vk
#StackOverflow: https://stackoverflow.com/yourname || stack-overflow
#YouTube: https://youtube.com/yourname || youtube
#Instagram: https://instagram.com/yourname || instagram
#Skype: skype:yourname?call|chat || skype
把social的#删除就可以打开这个社交链接了
我们还可以添加微博什么的,都可以,如上所示,自行修改和添加
然后我们刷新自己的blog就可以看见自己头像下面就有这几个链接了
09 启用友情链接
先通过sublime打开blog/themes/next/_config.yml,然后ctrl+F搜索links
删除links前面的#号,就启用了友情链接,至于链接以及简介由自己添加1
2links:
QQZone: https://user.qzone.qq.com/7757582
然后刷新自己的blog就可以在社交链接下看见友情链接了
10 新建一篇文章
打开cmd,打开hexo,进入到自己的blog
然后输入命令1
hexo n yourname
yourname是你的文章的名字,然后回车
然后就可以在hexo/blog/source/_posts中看见自己新建的文章了
然后我们hexo s开启本地链接
打开自己的blog就可以看见自己的文章了
然后通过sublime进入这个文章,前面的title还可以自己更改,tags可以添加自己的标签,分类也可以自己分类1
2
3
4
5
6
7
8---
title: Hexo-next主题-博客搭建
date: 2020-02-14 13:49:27
tags:
- 生活
- 学习
categories: 我的大学生活
---
在—-下面就可以进行自己的主文编辑了
其中#后跟的是一级标题,##后跟的是二级标题,###跟的是三级标题1
2
3# 我的大学生活
## 第一篇博客
### 这个是三级标题
11 Markdowm的基本使用
通过sublime打开自己的文章
多少个#号就是多少级标题
11.1 添加列表
1 | - 列表1 |
这样就可以添加列表,挺好tab后可以添加子列表
11.2 添加链接
1 | [baidu](http://www.baidu.com) |
[]中是简介,()中是连接
11.3 添加图片
1 |  |
11.4 斜体
1 | *斜体* |
在星号中间写文章
11.5 字体加粗
1 | **粗体** |
同上,只不过换成两个星号
11.5 代码块
1 | #include <iostream> |
通过tab上面的那个英文符号,两点是单行,六点是多行
11.6 添加引用
引用
11.7 添加横线
12 开启文章的打赏功能
先通过sublime进入主题的配置文件blog/themes/next/_config.yml,ctrl+F搜索reward
打开reward就行了,打开各个方式后然后添加自己的付款码等1
2
3
4
5# Reward
#reward_comment: 打赏作者鸡腿🍗
#wechatpay: /images/wechatpay.png
#alipay: /images/alipay.jpg
#bitcoin: /images/bitcoin.png
13 开启微信个人二维码/公众号等
通过sublime进入主题的配置文件blog/themes/next/_config.ynl,ctrl+F搜索wechat1
2
3
4
5# Wechat Subscriber
#wechat_subscriber:
#enabled: true
#qcode: /path/to/your/wechatqcode ex. /uploads/wechat-qcode.jpg
#description: ex. subscribe to my blog by scanning my public wechat account
打开后添加qrcode就行了,description添加描述,刷新blog后就会在自己blog下面看见
14 设置头像为圆形可旋转
先通过sublime进如blog/themes/next/source/css/common/components/sidebar/sidebar-author.styl
将文件ctrl+A全选后粘贴下面这段代码1
2
3
4
5
6
7
8
9
10
11
12
13
14
15
16
17
18
19
20
21
22
23
24
25
26.site-author-image {
display: block;
margin: 0 auto;
padding: $site-author-image-padding;
max-width: $site-author-image-width;
height: $site-author-image-height;
border: $site-author-image-border-width solid $site-author-image-border-color;
border-radius: 50%;
transition: 2s all;
}
.site-author-image:hover{
transform: rotate(360deg);
}
.site-author-name {
margin: $site-author-name-margin;
text-align: $site-author-name-align;
color: $site-author-name-color;
font-weight: $site-author-name-weight;
}
.site-description {
margin-top: $site-description-margin-top;
text-align: $site-description-align;
font-size: $site-description-font-size;
color: $site-description-color;
}
然后刷新自己的blog就可以看见自己的头像就是圆的了,然后鼠标指向头像就可以看见自己的头像旋转起来了,挪开也会旋转
15 首页文章设置阅读全文
通过sublime打开blog/themes/next/_config.yml,然后ctrl+F搜索auto_excerpt
将enable中的false改成true,长度自定义1
2
3auto_excerpt:
enable: false
length: 150
也可以直接在文章中添加1
<!--- more ---> //这个的上面是可以显示的,下面是不能显示的,要通过阅读全文才可以进入查看到
16 添加动态背景
通过sublime打开blog/themes/next/_config.yml,ctrl+F搜索canvas1
2
3
4
5
6
7
8
9
10
11# Canvas-nest
canvas_nest: false
# three_waves
three_waves: true
# canvas_lines
canvas_lines: false
# canvas_sphere
canvas_sphere: false
选择一个或者多个打开就行,false改成true就行了,可以多开,记得ctrl+S保存
17 给博客添加fork Github
可以在右上角和左上角放置一个链接
打开这两个网站 https://tholman.com/github-conrners/ 和 https://blog.github.com/2008-12-19-github-ribbons
选择一个然后复制
打开hexo/blog/themes/next/layout/_layout.swig,找到23行下面添加你复制到的,然后在href上改成自己的地址
如1
<a href="https://github.com/ChenAi007" class="github-corner" aria-label="View source on GitHub"><svg width="80" height="80" viewBox="0 0 250 250" style="fill:#151513; color:#fff; position: absolute; top: 0; border: 0; right: 0;" aria-hidden="true"><path d="M0,0 L115,115 L130,115 L142,142 L250,250 L250,0 Z"></path><path d="M128.3,109.0 C113.8,99.7 119.0,89.6 119.0,89.6 C122.0,82.7 120.5,78.6 120.5,78.6 C119.2,72.0 123.4,76.3 123.4,76.3 C127.3,80.9 125.5,87.3 125.5,87.3 C122.9,97.6 130.6,101.9 134.4,103.2" fill="currentColor" style="transform-origin: 130px 106px;" class="octo-arm"></path><path d="M115.0,115.0 C114.9,115.1 118.7,116.5 119.8,115.4 L133.7,101.6 C136.9,99.2 139.9,98.4 142.2,98.6 C133.8,88.0 127.5,74.4 143.8,58.0 C148.5,53.4 154.0,51.2 159.7,51.0 C160.3,49.4 163.2,43.6 171.4,40.1 C171.4,40.1 176.1,42.5 178.8,56.2 C183.1,58.6 187.2,61.8 190.9,65.4 C194.5,69.0 197.7,73.2 200.1,77.6 C213.8,80.2 216.3,84.9 216.3,84.9 C212.7,93.1 206.9,96.0 205.4,96.6 C205.1,102.4 203.0,107.8 198.3,112.5 C181.9,128.9 168.3,122.5 157.7,114.1 C157.9,116.9 156.7,120.9 152.7,124.9 L141.0,136.5 C139.8,137.7 141.6,141.9 141.8,141.8 Z" fill="currentColor" class="octo-body"></path></svg></a><style>.github-corner:hover .octo-arm{animation:octocat-wave 560ms ease-in-out}@keyframes octocat-wave{0%,100%{transform:rotate(0)}20%,60%{transform:rotate(-25deg)}40%,80%{transform:rotate(10deg)}}@media (max-width:500px){.github-corner:hover .octo-arm{animation:none}.github-corner .octo-arm{animation:octocat-wave 560ms ease-in-out}}</style>
然后在cmd1
2
3hexo cl
hexo g
hexo s
然后刷新blog就可以看见右上角或者左上角就有一个链接模块啦
18 修改文章内连接样式
通过sublime打开hexo/blog/themes/next/source/css/common/components/post/post.styl
在后面添加代码1
2
3
4
5
6
7.post-body p a{
color: blue; // 鼠标指向前的颜色
border-bottom: none;
&:hover{
color: purple; // 鼠标指向后的颜色
}
}
19 修改文章第部带#的标签
通过sublime打开hexo/blog/themes/next/layout/_macoro/post.swig
然后打开 https://fontawesome.lo/lcons/ 选择一个图标
在刚刚的sublime中找到359行,其中有个#,删除#,改成下面的,下面的是google的G符号,具体什么符号可以根据自己的喜好选择
1
<i class="fa fa-google"></i>
1 | <i class="fa fa-google"></i> |
20 Valine评论(也可以用来必力和Gitment评论)
通过sublime进入hexo/blog/themes/next/_config.yml,ctrl+F搜索valine
然后登入此网站: https://leancloud.cn 注册一个账号,创建一个新应用,然后打开应用keys
复制AppID和AppKey到_config.yml中,如下1
2
3
4
5
6
7
8
9
10valine:
enable: true # 改成ture
appid: your appid
appkey: your appkey
notify: false # mail notifier , https://github.com/xCss/Valine/wiki
verify: false # Verification code
placeholder: Just go go # comment box placeholder
avatar: mm # gravatar style
guest_info: nick,mail,link # custom comment header
pageSize: 10 # pagination size
保存刷新以后这就打开了评论系统啦
21 增加本地搜索功能
先打开next官网,选择搜索服务,Local Search
先在cmd中打开hexo,输入1
npm install hexo-generator-searchdb --save
再在hexo/blog/_config.yml,中任意位置添加1
2
3
4
5search:
path: search.xml
field: post
format: html
limit: 10000
然后打开hexo/blog/themes/next/_config.yml,ctrl+F搜索local
enable: false 改成 true1
2local_search:
enable: true
22 增加不蒜子统计功能
打开主题配置文件blog/themes/next/_config.yml,ctrl+F搜索busuanzi
配置更改如下:1
2
3
4
5
6
7
8
9
10
11
12
13
14
15busuanzi_count:
# count values only if the other configs are false
enable: true
# custom uv span for the whole site
site_uv: true
site_uv_header: 本站访问数<i class="fa fa-user"></i>
site_uv_footer: 人次
# custom pv span for the whole site
site_pv: true
site_pv_header: 本站总访问量<i class="fa fa-eye"></i>
site_pv_footer: 次
# custom pv span for one page only
page_pv: true
page_pv_header: 本页总阅读数<i class="fa fa-file-o"></i>
page_pv_footer: 次
23 增加内容分享服务
打开主题配置文件blog/themes/next/_config.yml,ctrl+F搜索1
jiathis: true
24 增加加载效果
通过sublime打开主题配置文件blog/themes/next/_config.yml,ctrl+F搜索pace1
2
3
4
5
6
7
8
9
10
11
12
13
14
15
16
17
18
19# Progress bar in the top during page loading.
pace: true
# Themes list:
#pace-theme-big-counter
#pace-theme-bounce
#pace-theme-barber-shop
#pace-theme-center-atom
#pace-theme-center-circle
#pace-theme-center-radar
#pace-theme-center-simple
#pace-theme-corner-indicator
#pace-theme-fill-left
#pace-theme-flash
#pace-theme-loading-bar
#pace-theme-mac-osx
#pace-theme-minimal
# For example
# pace_theme: pace-theme-center-simple
pace_theme: pace-theme-corner-indicator
需要哪个加载效果就将那个复制到pace_theme中
25 点击爆炸效果
在\blog\themes\next\source\js\src中建一个fireworks.js的文件
具体代码美哟找到,暂时不更新这板块内容
26 隐藏网页第部强力驱动
通过sublime打开hexo/blog/themes/next/layout/_partials/footer.swig,为了方便ctrl+A,ctrl+C,ctrl+V即可1
2
3
4
5
6
7
8
9
10
11
12
13
14
15
16
17
18
19
20
21
22
23
24
25
26
27
28
29
30
31
32
33
34
35
36
37
38
39
40
41
42
43
44
45
46
47<div class="copyright">{#
#}{% set current = date(Date.now(), "YYYY") %}{#
#}© {% if theme.footer.since and theme.footer.since != current %}{{ theme.footer.since }} — {% endif %}{#
#}<span itemprop="copyrightYear">{{ current }}</span>
<span class="with-love">
<i class="fa fa-{{ theme.footer.icon }}"></i>
</span>
<span class="author" itemprop="copyrightHolder">{{ theme.footer.copyright || config.author }}</span>
{% if theme.post_wordcount.totalcount %}
<span class="post-meta-divider">|</span>
<span class="post-meta-item-icon">
<i class="fa fa-area-chart"></i>
</span>
{% if theme.post_wordcount.item_text %}
<span class="post-meta-item-text">{{ __('post.totalcount') }}:</span>
{% endif %}
<span title="{{ __('post.totalcount') }}">{#
#}{{ totalcount(site, '0,0.0a') }}{#
#}</span>
{% endif %}
</div>
<!--{% if theme.footer.powered %}
<div class="powered-by">{#
#}{{ __('footer.powered', '<a class="theme-link" target="_blank" href="https://hexo.io">Hexo</a>') }}{#
#}</div>
{% endif %}
{% if theme.footer.powered and theme.footer.theme.enable %}
<span class="post-meta-divider">|</span>
{% endif %}
{% if theme.footer.theme.enable %}
<div class="theme-info">{#
#}{{ __('footer.theme') }} — {#
#}<a class="theme-link" target="_blank" href="https://github.com/iissnan/hexo-theme-next">{#
#}NexT.{{ theme.scheme }}{#
#}</a>{% if theme.footer.theme.version %} v{{ theme.version }}{% endif %}{#
#}</div>
{% endif %}-->
{% if theme.footer.custom_text %}
<div class="footer-custom">{#
#}{{ theme.footer.custom_text }}{#
#}</div>
{% endif %}
27 实现统计功能(字数统计和阅读时长)
在cmd中打开hexo/blog,输入1
npm install hexo-workcount --save
然后通过sublime打开blog/themes/next/config.yml,搜索post1
2
3
4
5
6post_wordcount:
item_text: true
wordcount: true
min2read: true
totalcount: false
separated_meta: true
wordcount和min2read都改成true